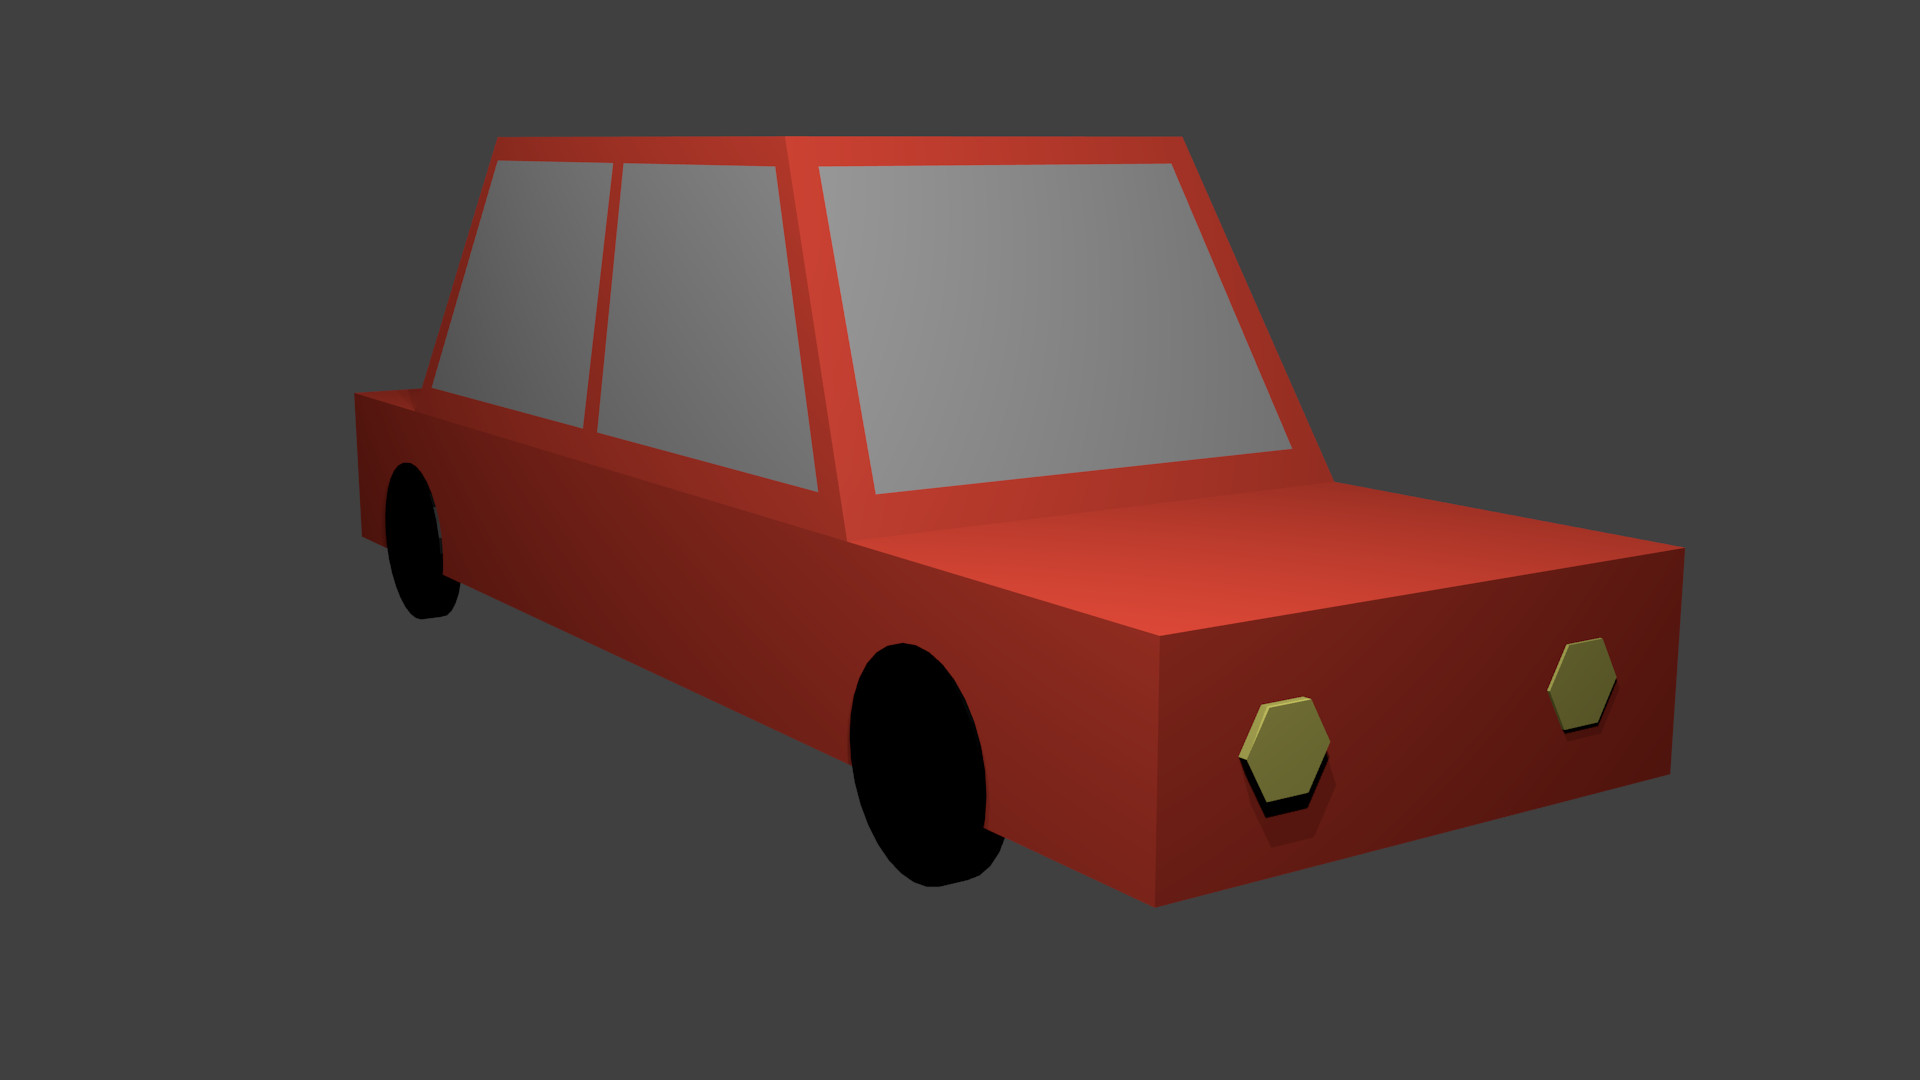
Low poly auto
Bekijk de video of,
Volg de stap voor stap beschrijving.
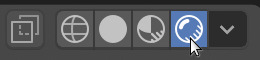
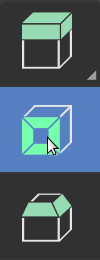
Viewport shading
Ga naar Rendered mode in Viewport Shading in de rechter bovenhoek.
Modelleer een auto zonder modifiers
Om een low poly auto te modelleren kun je gebruik maken van een kubus en deze veranderen naar een auto.
In Object modus, schaal de kubus in de X, Y of Z as en modelleer de basisvorm van een auto.
In Edit modus, gebruik de Loopcut tool en maak 2 snedes om de auto te verdelen in een voor- midden- en achterkant.
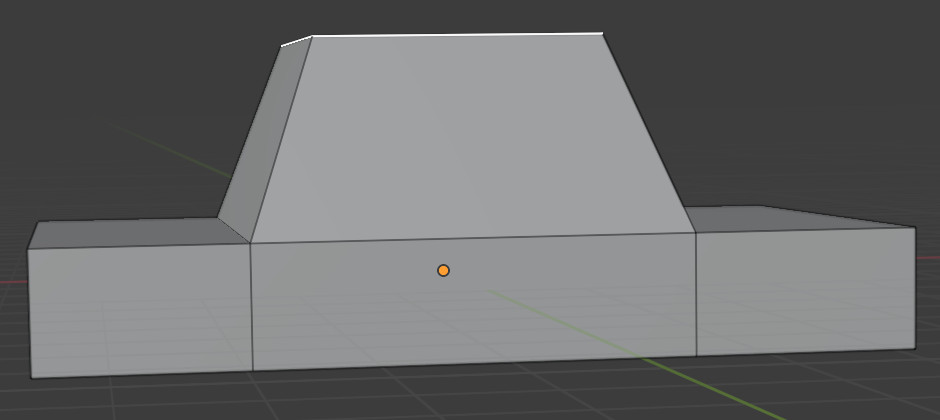
Trek (Extrude) het bovenste vlak tussen de 2 snedes omhoog.
Maak het bovenste vlak kleiner (scale).
Je hebt de basisvorm van een auto. Er is echter nog een manier om een auto te modelleren door gebruik te maken van modifiers. Modifiers zijn operaties op de geometrie van een object, maar het veranderd de geometrie van een object niet. Met modifiers kun je diverse effecten makkelijk realiseren.
Modelleer een auto met modifiers
Voor het modelleren van een low poly auto met modifiers gaan we terug naar Object modus.
In Object modus, verwijder de auto.
Voeg een kubus toe.
Deel de kubus doormidden.
In Edit modus, gebruik de Loopcut tool om de kubus doormidden te delen.
Verwijder een helft van de kubus door de vlakken van een helft te selecteren. Druk op X en verwijder deze vlakken.
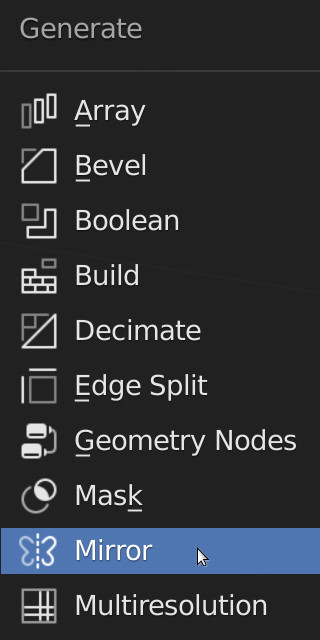
In Object modus ga naar de Modifier tab op het rechter paneel.

Selecteer de Mirror modifier.
We kunnen spiegelen in de X, Y of Z as.
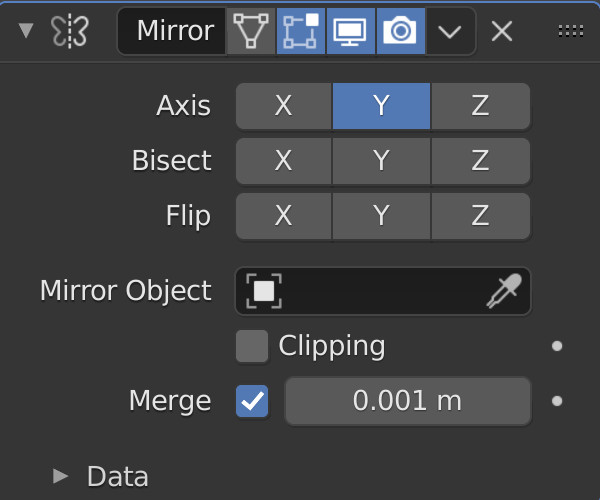
Selecteer de X of Y as om de kubus terug te krijgen.
De mirror modifier spiegelt een object langs de X, Y of Z as. Als je iets veranderd aan een kant dan zal de wijziging worden toegepast aan de gespiegelde kant.We gaan verder met de auto.
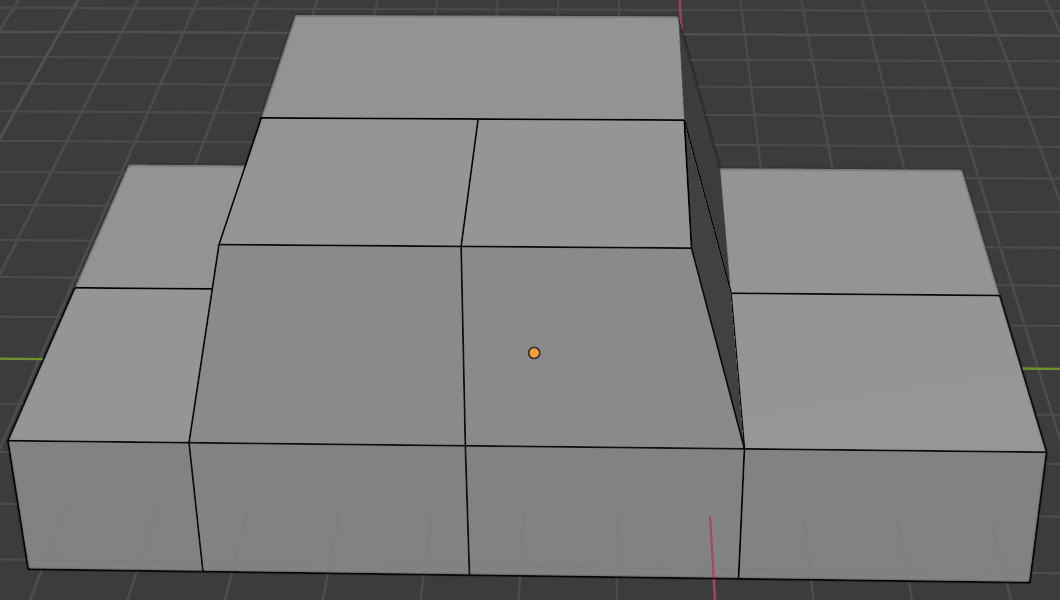
Vergroot de kubus in de X, Y of Z as en modelleer de basisvorm van een auto.
In Edit modus maak weer 2 snedes met de Loopcut tool.
Trek het boventse vlak omhoog (extrude).
Maak nog een snede voor de voor- en achterramen.

Modelleer het dak van de auto door het bovenste vlak iets kleiner te maken.
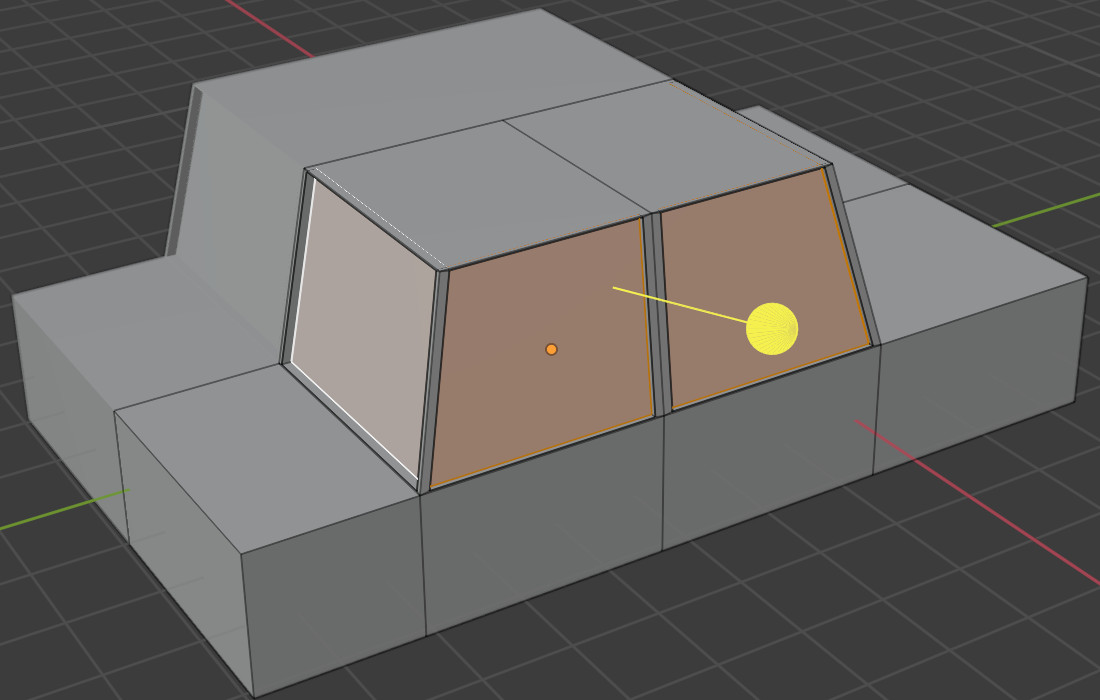
Vervolgens modelleer de ramen.
Selecteer de vlakken van de ramen.
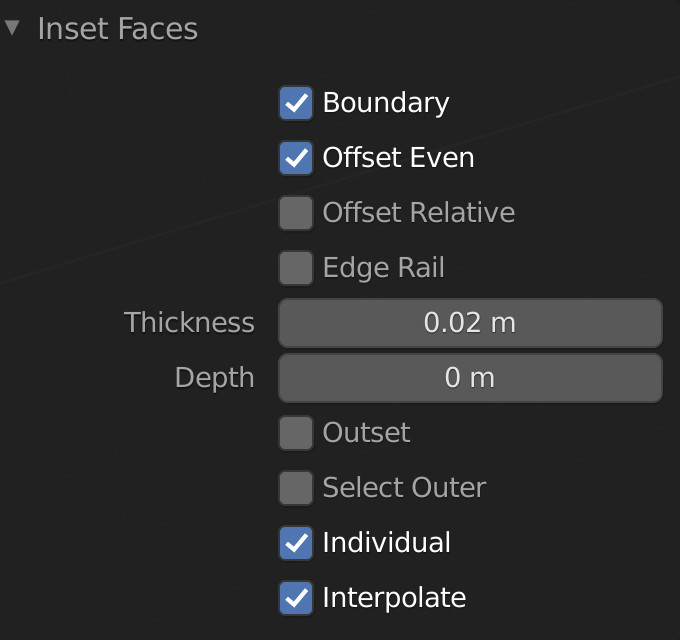
Gebruik de Inset Faces tool om een inkeping te maken.
Selecteer Inset Faces en maak een kleine inkeping.
In de Inset Faces tool selecteer Individual en maak de**Thickness** erg klein bijvoorbeeld 0.02.
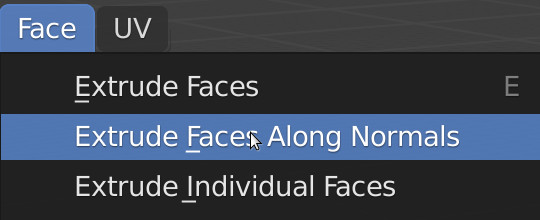
Selecteer Face -> Extrude Faces along Normals en beweeg de muis heel licht.Zorg ervoor dat je de muis maar heel even beweegt. Met deze instelling kun je nauwkeuriger een vlak uittrekken (extruden).
Tip: Gebruik CTRL+Z om wijzigingen ongedaan te maken.
Autobanden
We voegen banden toe. Voor het modelleren van banden maken we gebruik van een cilinder.
In Object modus, selecteer een cilinder.
In de Add Cylinder menu verlaag het aantal punten (vertices) naar bijvoorbeeld 10.
Roteer en vergoot of verklein (scale) de cilinder tot de grootte van een band.
Plaats de band op de auto.
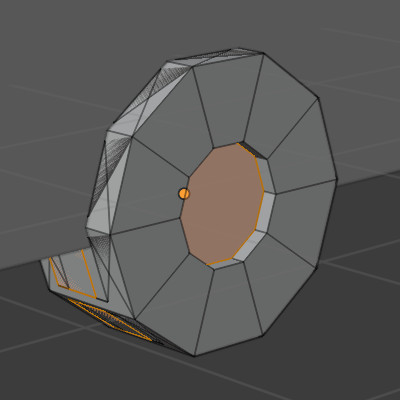
In Edit modus gebruik de Inset Faces tool om een inkeping te maken voor de velgen van de autoband.
Trek (extrude) de vlakken uit.
In Object modus, dupliceer de autoband met SHIFT+D.
Dupliceer beide banden en plaats deze aan de andere kant van de auto.
Roteer de gedupliceerde banden 180 graden langs de Z-as.
Om een gat rondom de band te modelleren gebruiken we een andere modifier, de Boolean modifier.
Selecteer de auto.
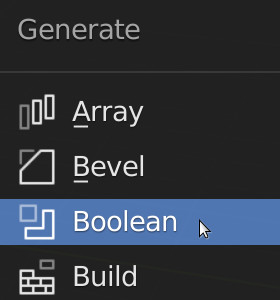
Ga naar de Modifier tab op het rechterpaneel.
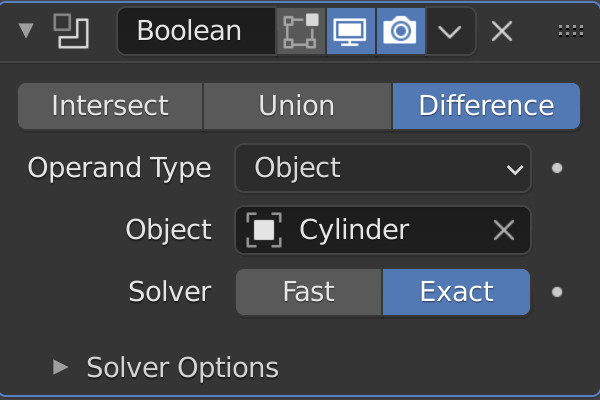
Voeg een Boolean modifier toe.
De Boolean modifier maakt gebruik van de Boolean operatie. Om een gat te modelleren willen we het verschil tussen de auto en de autoband.
Selecteer Difference van de Boolean modifier.
Als Object selecteer de autoband (cilinder). Je kunt ook gebruik maken van de pen voor het selecteren.
In de Outliner, als je de autoband verbergt, zie je een rond gat om de band heen.
Voeg nog 3 Boolean modifiers toe aan de overige autobanden.
Voor elke Boolean modifier selecteer een andere autoband.
Koplampen
Voor het modelleren van de koplampen gebruiken we een cilinder.
In Object modus, voeg een cilinder toe.
Verklein (scale) de cilinder tot de grootte van een koplamp.
In Edit modus, maak een inkeping voor de lamp.
Trek (extrude) de vlakken in het midden uit.
In Object modus dupliceer de koplamp met SHIFT+D.
Maak een rond gat voor de koplampen.
Voeg een Boolean modifier toe.
Selecteer Difference.
Selecteer als Object een koplamp.
Uitdaging
Geef je auto een kleur en voeg deurhendels toe.