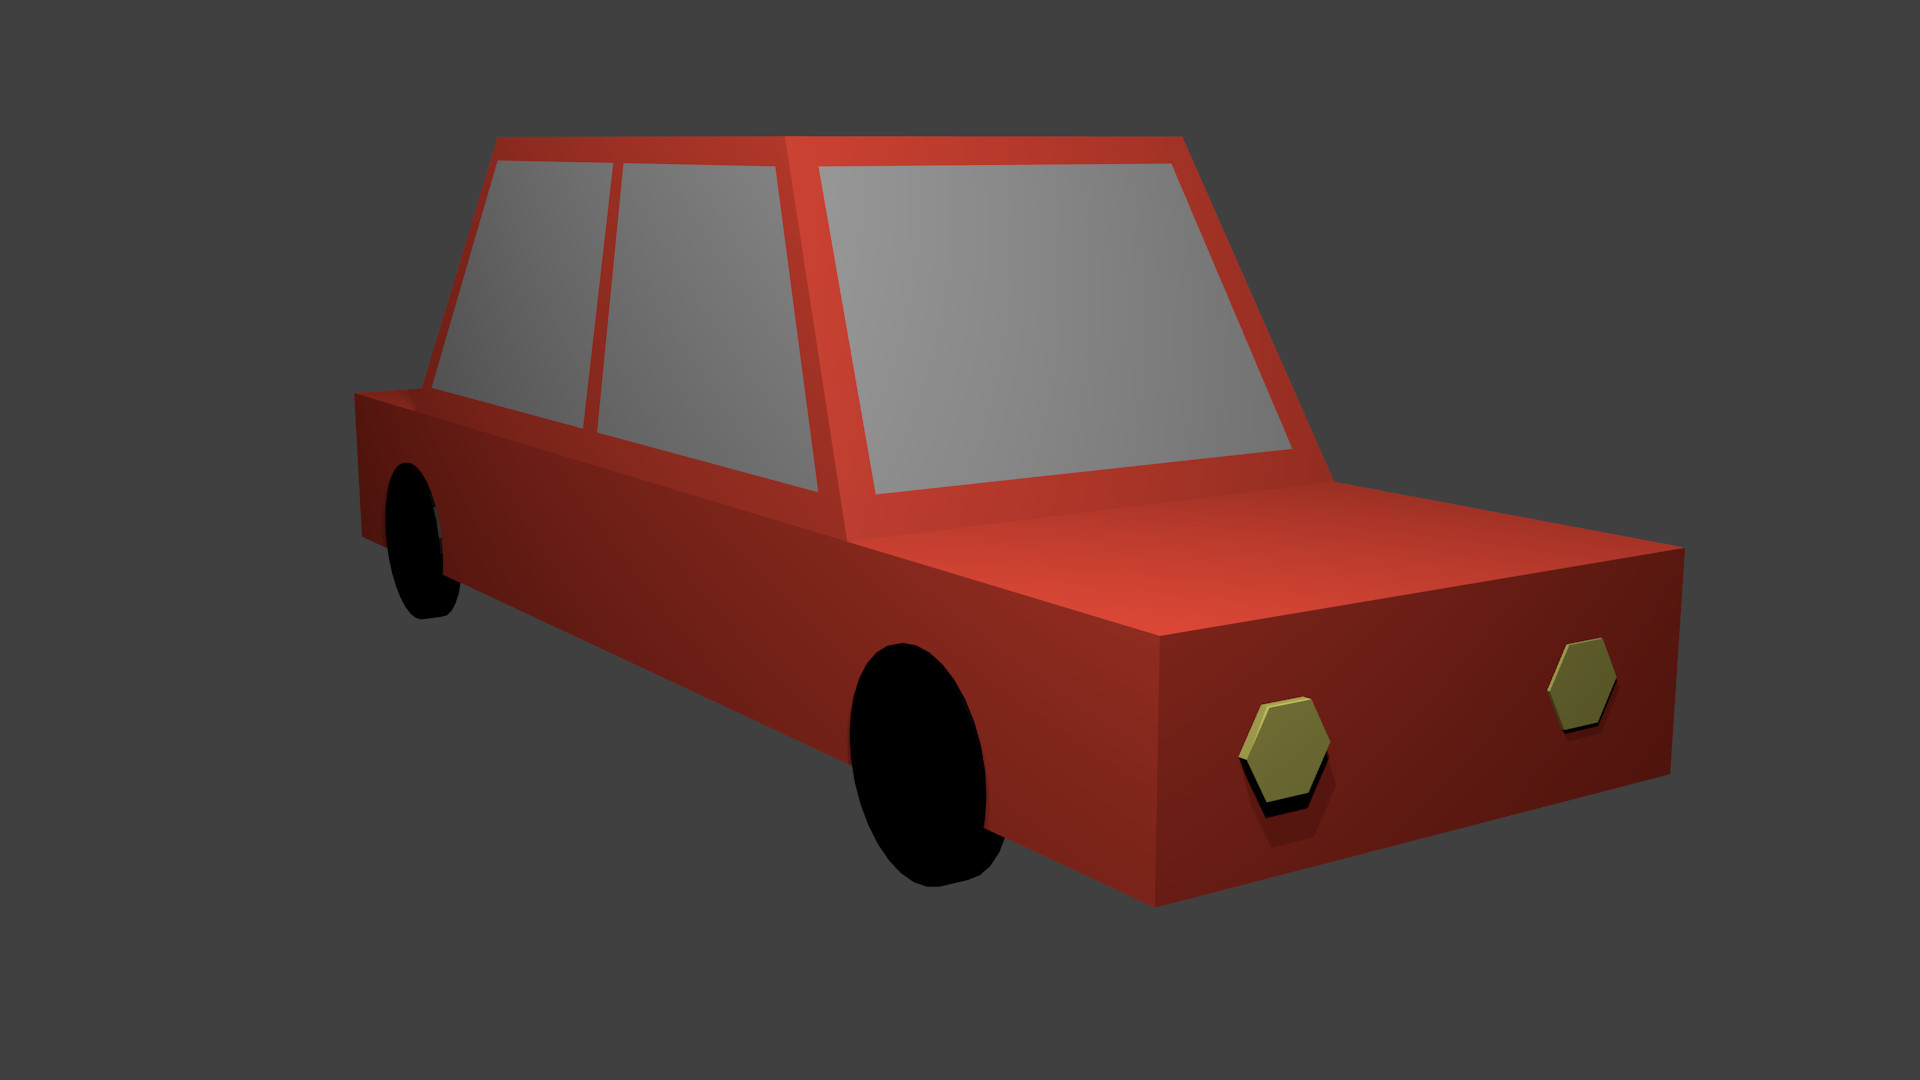
Low poly car
Watch the video or,
Follow the step by step instructions below.
Viewport shading
Enable the Rendered mode in Viewport Shading in the upper-right corner.
Model a car without modifers
To model a low poly car we can use a cube and change it into a low poly car.
In Object mode scale the cube in X, Y and Z direction creating a basic shape of a car.
In Edit mode use the Loopcut tool to create two cuts dividing the car in a front, mid, and back.
Extrude the upper face between the 2 cuts.
Scale down the upper face.
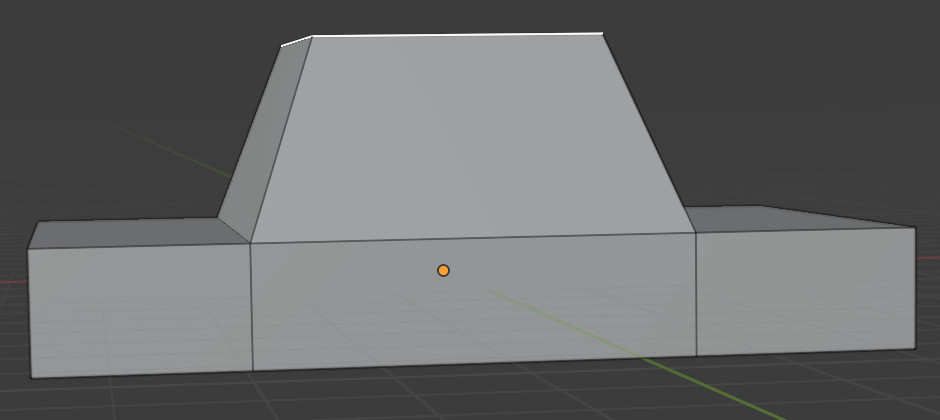
Now we have a basic shape of a car. There is another way to model a car using modifiers. Modifiers are operations that affect the geometry of an object but it doesn’t change the geometry itself. With modifiers you can perform many effects easily.
Model a car using modifers
To model a low poly car using modifiers we go back to Object mode.
In Object mode remove the car model.
Add a cube.
Next we’ll cut this cube in half.
In Edit mode use the Loopcut tool to cut the cube in half.
Remove half of the cube by selecting the faces on one half of the cube. Then press X to delete those faces.
In Object mode, go to the Modifier tab on the right.

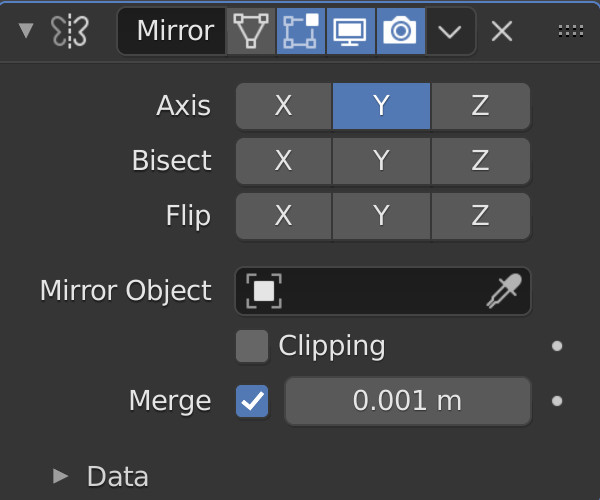
Select the Mirror modifier.
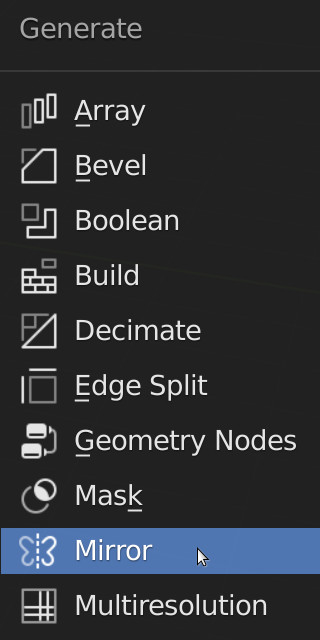
We can mirror along the X, Y or Z axis.
Select the X or Y axis to get the cube back.
The mirror modifier mirrors along the X, Y or Z axis. So if you change something on one side the changes will be applied to the mirrored side. Let’s continue with the car.
Scale the cube in X, Y or Z direction creating a basic shape of a car.
In Edit mode create 2 cuts using the Loopcut tool.
Extrude the upper face.
Create another cut for the front and back windows.
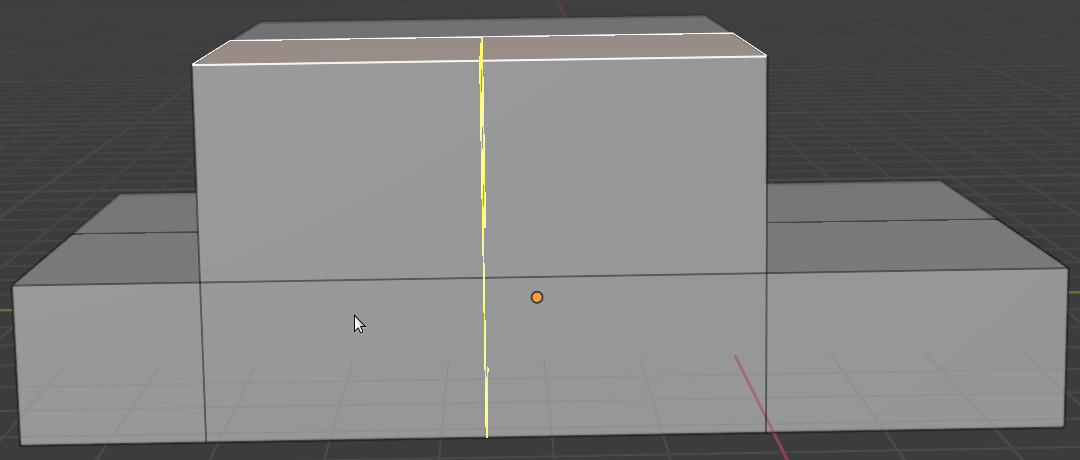
Model the roof of the car by making the top a bit smaller.
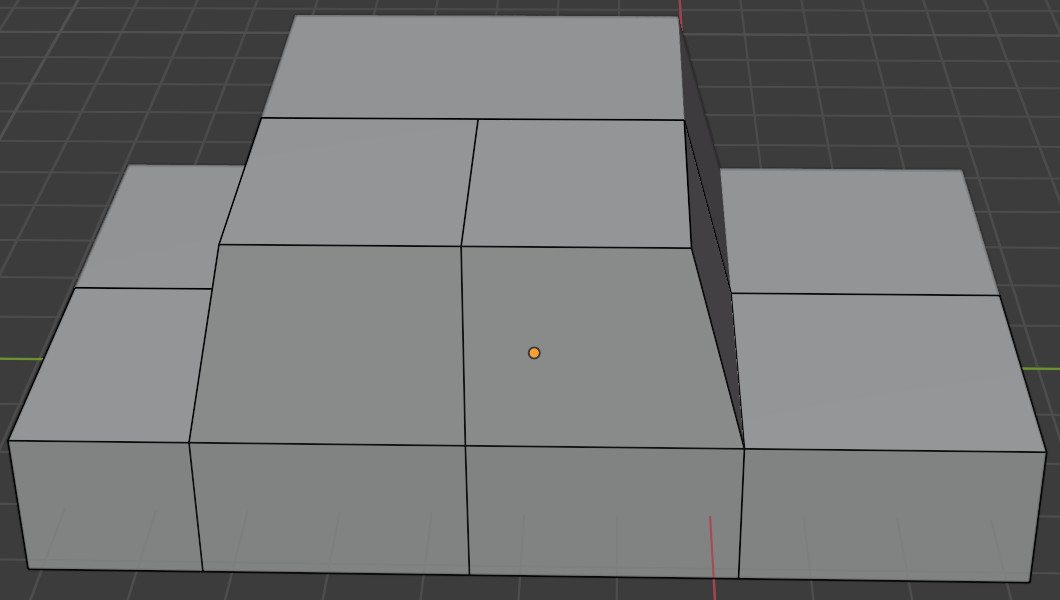
Next model the windows.
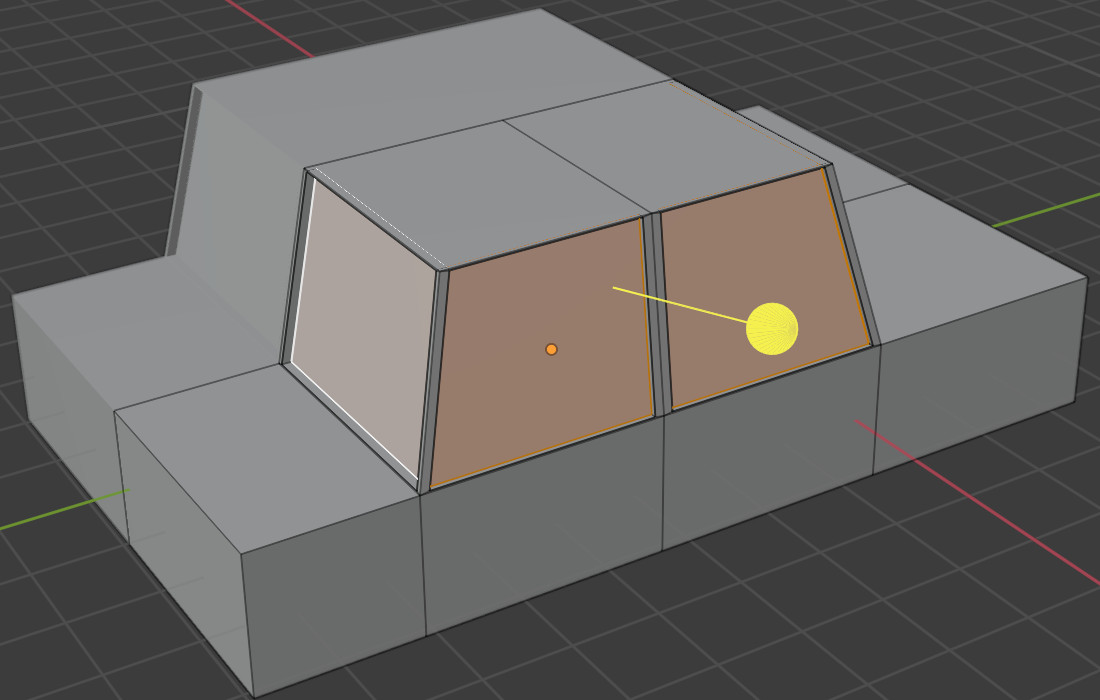
Select the faces for the window.
Next use the Inset Faces tool to create an inset.
Select the Inset Faces tool and create a small inset.
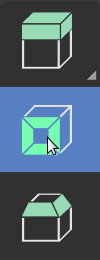
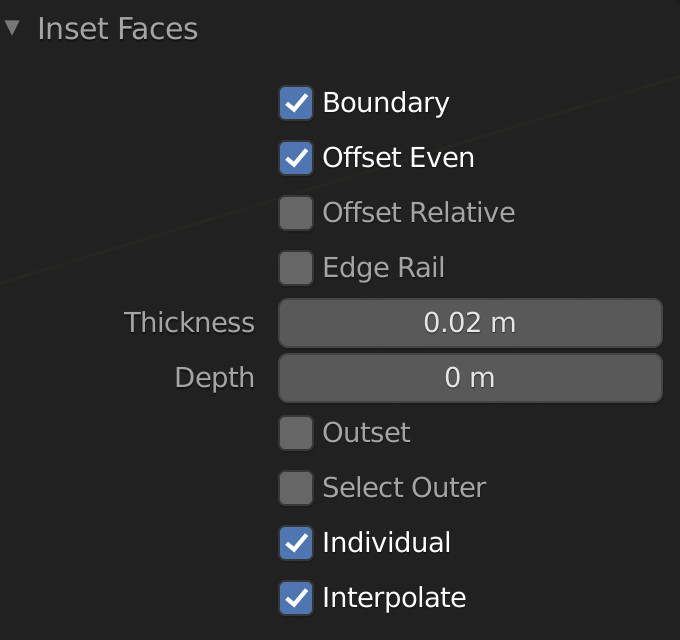
In the Inset Faces tool menu select Individual and make the Thickness very small for example 0.02.
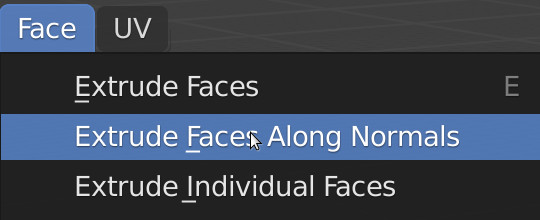
Select Face -> Extrude Faces along Normals and move the mouse a little bit. Not too much. With this extrude you can create a more precise extrude.
Tip: Use CTRL+Z to undo.
Tyres
Let’s add some tyres. To model the tyres we’ll use a cylinder.
In Object mode select a cylinder.
In the Add Cylinder menu lower the number of vertices to for example 10.
Rotate and scale the cylinder to create the size of a tyre.
Add the tyre to the car.
In Edit mode use the Inset Faces tool to create an inset for the rims of the car tyre.
Use Extrude to pull out the faces.
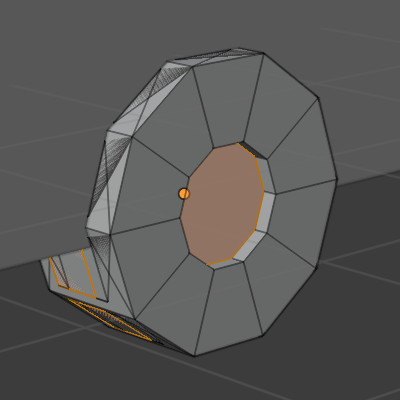
In Object mode duplicate the tyre with SHIFT+D.
Next duplicate both tyres and move them to the other side of the car.
Rotate the duplicated tyres 180 degrees along the Z -axis.
To create a nice gaping hole around the tyre we will use another modifier, the Boolean modifier.
Select the car.
Go to the Modifier tab on the right.

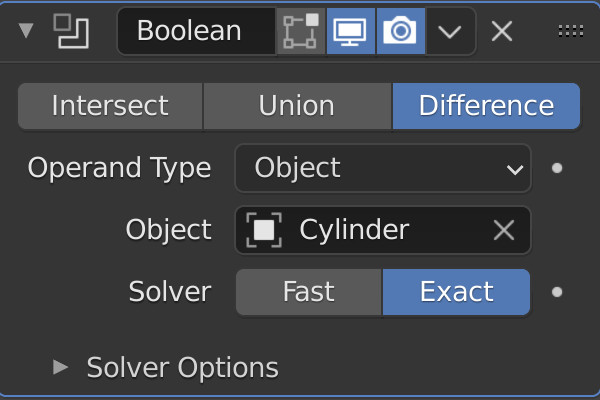
Add a Boolean modifier.
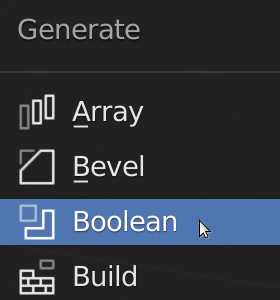
The Boolean modifier uses a Boolean operation. To create a round hole we want the difference between the car and the tyre.
Select Difference from the Boolean modifier.
As Object select a tyre. You can also use the pen to select the tyre.
In the Outliner, if you hide the tyre, you can see a nice hole surrounding the tyre.
Add 3 more Boolean modifiers to the other tyres.
For each Boolean modifier select a different tyre.
Car lights
To model car lights we will use a cylinder.
In Object mode, add a cylinder.
Scale down the cylinder to the size of a car light.
In Edit mode, create an inset.
Use Extrude to pull out the inner faces.
In Object mode, duplicate the car light using SHIFT+D.
Create a nice sourrounding hole for both car lights.
Add a Boolean modifier.
Select Difference.
Select as Object a car light.
Challenge
Give your car some colors and add a door knob.
