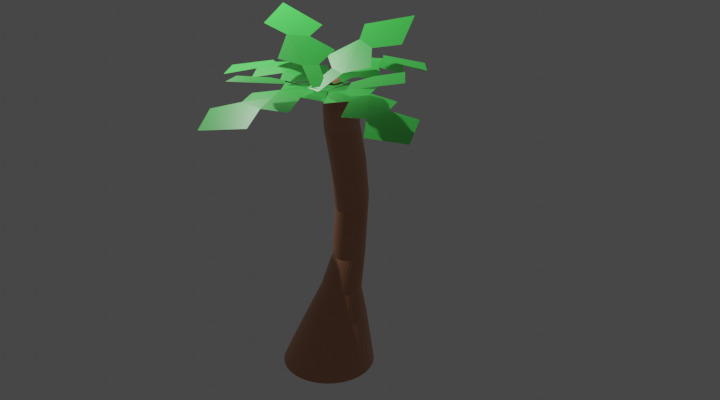
Palm Tree
Watch the video or,
Follow the step by step instructions below.
Viewport shading
Enable the Rendered mode in Viewport Shading in the upper-right corner.

Palm tree trunk
We start with a cylinder.
Remove the cube.
Add a cylinder.
Resize the cylinder to create a tree trunk.
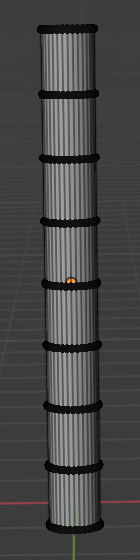
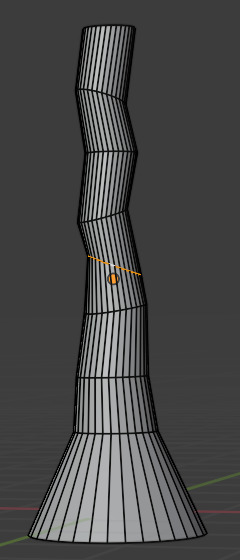
To give the tree trunk a more organic look create some cuts and then twist and turn these cuts.
Go to Edit mode.
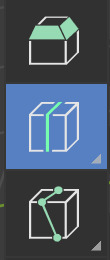
Select Loop Cut tool from the menu left.
Create 5 or 6 cuts. You can left click to create a cut.
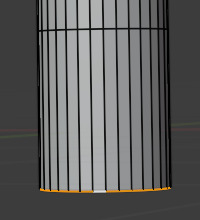
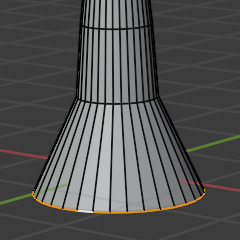
To create a big bottom for the palm tree we need to select the circle at the bottom of the tree.
Go to the Select Box tool.

Go to Edge select.

Select an edge of the circle at the bottom.
Go to Select -> Select Loops -> Edge Loops or use shortcut SHIFT+ALT+LMB to select the circle of edges.
Scale the circle, the bottom of the tree trunk.

Enable Proportional Editing.

Use Proportional Editing to make the bottom look more smooth.
Select another circle using Select -> Select Loops -> Edge Loops or shortcut SHIFT+ALT+LMB.
Move and rotate the circle. You can use shortcuts G to move and R to rotate.
Use Proportional Editing to make the tree look smooth.
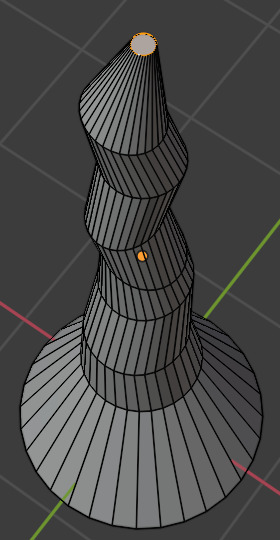
Select the circle at the top.
Scale the top down.
Palm leaves
Watch the video or,
Follow the step by step instructions below.
To add leaves we need to add a plane and cut out a palm leaf.
Go to Object mode.
Add a plane.
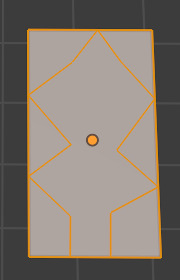
Resize the plane and make the plane longer.
Go to Edit mode.
Select the Knife tool.

Move the mouse to the plane.
Left click with the mouse to set a point. Move the mouse to draw a line. Left click again to set another point.
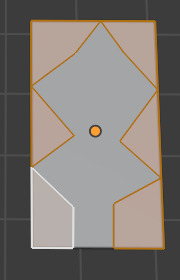
Draw a palm leave.
Press ENTER to confirm.
Go to Face select.
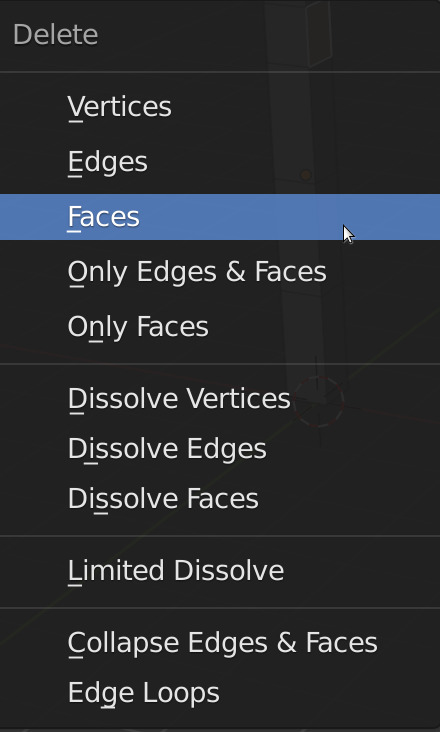
Select the faces surrounding the palm leave.
Delete these faces by pressing X and selecting Faces from the Delete menu.
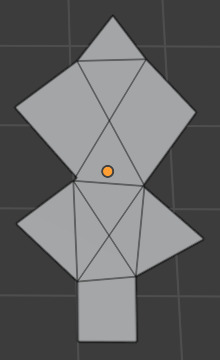
The palm leave looks very flat. Let’s add some twists and turns by adding more faces.
Select the knife tool.
Connect some points of the palm leave, for example.
Go to the Select Box tool.
Go to Face select.
Rotate and Move some faces using shortcuts G and R creating a more organic look for your palm leave.
Move the leave on top of the tree trunk.
Color the palm tree
Go to Object mode.
Select the tree trunk
Go to the Material tab.
Add a new material.
Select a color for the tree and give it a name.
Select the palm leave.
Add a new material.
Select a color for the leave and give it a name.
More palm leaves
Select the palm leave.
Press SHIFT+D and duplicate the leave.
Put the duplicated leave on top of the tree.
Create more leaves by duplicating.