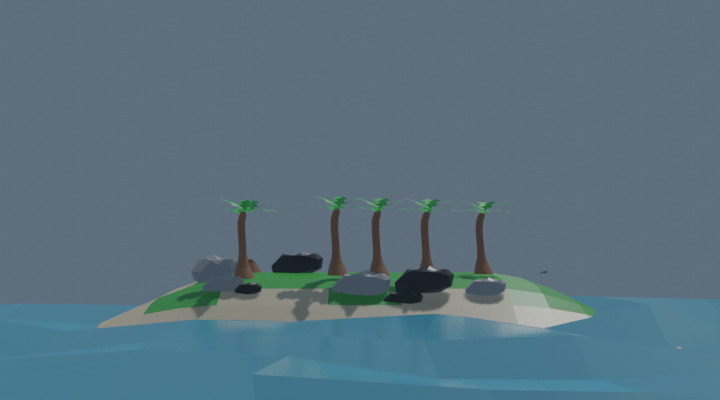
Island
Watch the video or,
Follow the step by step instructions below.
Viewport shading
Enable the Rendered mode in Viewport Shading in the upper-right corner.

Basic shape of an island
We’ll use a plane to create the island.
Remove the cube.
Add a plane.
Make the plane 10 times bigger using shortcut S+10.
Go to Edit mode.
Go to Edge select.
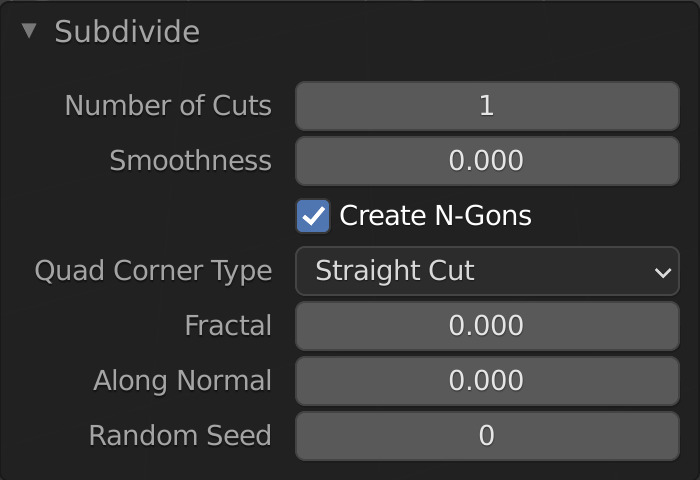
Select Edge -> Subdivide.
Set the Number of Cuts to 15 in the Subdivide menu.
Select the inner set of 12 x 12 vertices and faces.
Enable Proportional Editing.

Move the set of 12 x 12 faces up. Use proportional editing to make it look smoother.
Select the inner set of 7 x 7 vertices and faces.
Move the set of 7 x 7 faces up. Use proportional editing to make it look smoother.
Color the island
Go to Object mode.
Go to the Material tab.
Add a new material.
Select a base color for the island.
Give the color a name.
Add a green color for grass.
Go to Edit mode.
Go to Face select.
Select some faces that you want to give a green color.
Go to the Material tab.
Add a new material.
Select a green color and give it a name.
Assign the color to the selected faces by pressing ASSIGN.
Water
To add water we start with a plane.
Go to Object mode.
Add a plane.
Make it very big.
Put the plane just underneath the island.
Go to Edit mode.
Go to Edge select.
Select Edge -> Subdivide.
Set the Number of Cuts to 10 or 20 in the Subdivide menu.
Set the Fractal to 0.12.
Play around with the Number of Cuts and the Fractal to get a nice wave effect.
Color the water
Go to Object mode.
Go to the Material tab.
Add a new material.
Select a base color for the water.
Give the color a name.
Rocks and palmtrees
Watch the video or,
Follow the step by step instructions below.
Join the palm tree
In a previous tutorial you created a palm tree. Join the tree trunk and all palm leaves into a single object.
Go to the Palm Tree.
Select the tree trunk and palm leaves.
Press CTRL+J to create a single object.
Append the palm tree
Back to your island. We append the palm tree as a single object.
Back to the island.
Select File -> Append and navigate to your palm tree blend file.
Click on the blend file and select Object and then your palm tree object.
With Append Blender makes a copy of the palm tree to the island blend file.
Place your palm tree properly. You might have to resize it.
Duplicate the tree using SHIFT+D.
Create as many trees as you like.
Rocks
Let’s add some rocks.
Add an Ico sphere.
Make the Ico sphere bigger.
Go to Edit mode.
Go to Vertex select.
Select some vertices.
Pull them out.
Use Proportional Editing.
Continue moving vertices and create a rock-like shape.
Duplicate your rock using SHIFT+D.
Put the duplicated rock somewhere on the island.
Create more duplications of your rock.
Resize the rock to create smaller or larger rocks.
Color the rocks
Select a rock.
Give it a dark grey color.
Select another rock.
Give it a light grey color.
Give your rocks a dark grey or a light grey color.