Flying snowball
Watch the video or,
Follow the step by step instructions below.
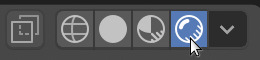
Viewport shading
Enable the Rendered mode in Viewport Shading in the upper-right corner.
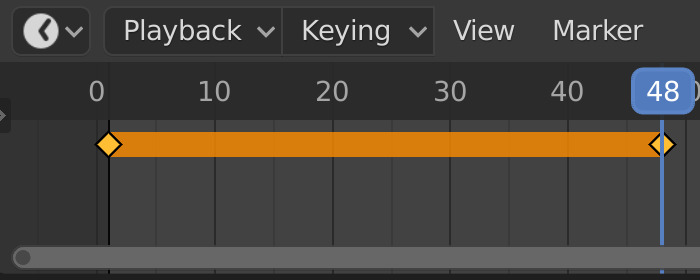
Timeline
To animate we will use the Timeline at the bottom of the screen.

The numbers just above the Timeline represent the number of frames. The blue line is the current frame. With the Play button you can play the animation.
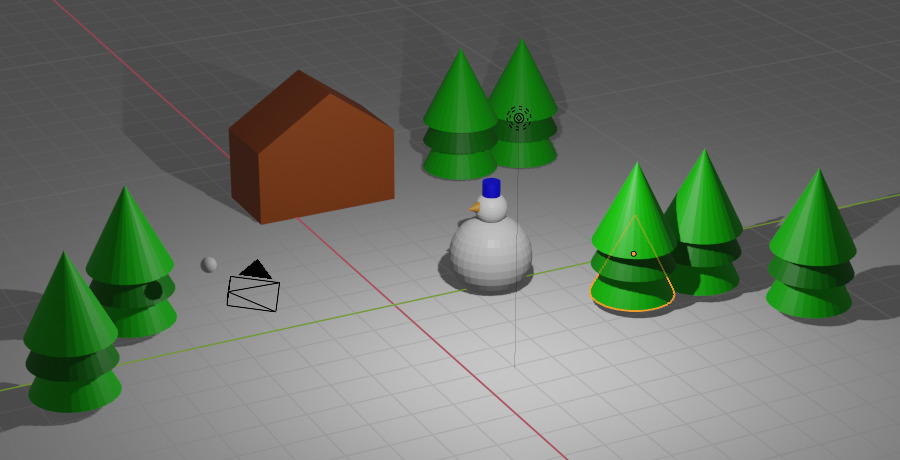
Create a scene
We start with a scene containing:
Trees of cones. You can also use trees of cubes.
A house.
A snowman with a hat and a nose.
A snowball.
A snowball animation
To create a snowball animation we need to add keyframes. With keyframes you can tell Blender where the snowball should be at a certain time. So you can say at frame 1 I want the snowball to be at location A and at frame 50 I want the snowball to be at location B.
Place the snowball somewhere between the trees.
Move the mouse to the Timeline.
The Timeline should be at frame 1. If it’s not you can move the blue line with your mouse.
Now we tell Blender to remember the location, rotation and scale of the snowball by adding keyframes.
Move the mouse back to your scene, to the viewport.
Press I and an Insert keyframe menu will popup.
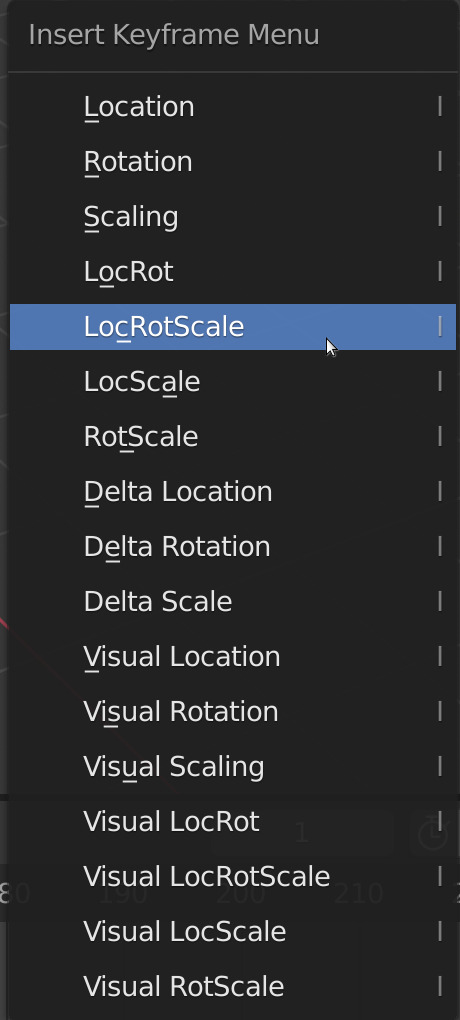
Select LocRotScale from the menu.
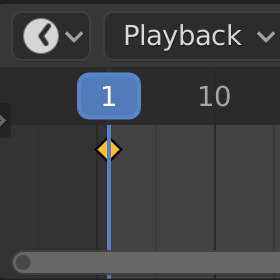
You will see a yellow diamond on the Timeline at frame 1. This tells us that there is a keyframe at frame1.
Let’s say we want the snowball to hit the snowman in 2 seconds. Blender by default uses 24 frames in 1 second. So 2 seconds means that the snowball should hit the snowman at about frame 48 (2 x 24).
Move the Timeline to frame 48 using the mouse.
Move the snowball to the snowman.
Press I and select LocRotScale from the Insert keyframe menu.
A second diamond will appear on the Timeline.
Move the Timeline from frame 1 to frame 48 with your mouse.
You will see that the ball moves towards the snowman. Blender calculates the animation for you.
Animate the head of the snowman
If you want the head of the snowman to fall off when the snowball hits it we need to animate the head including the nose and the hat.
To animate the head with the nose and the hat we need to select all 3 objects. There are 2 ways to select these objects.
Box select
Move your mouse to the head of the snowman.
Press B for box select and draw a box that includes the head, the nose and the hat.
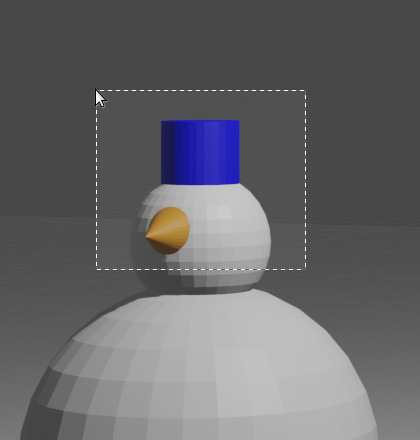
You will notice that all 3 objects are selected by looking at the orange border around all 3 objects.
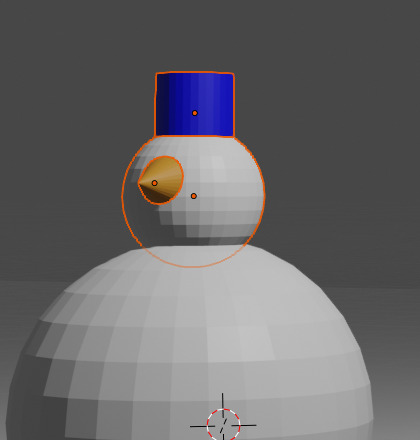
Shift
Select the head of the snowman.
Then hold down SHIFT.
Select the nose.
And then select the hat.
All 3 objects are selected. You can see this by looking at the orange border around all 3 objects.
Once you have selected the head, the nose and the hat,
Go to the Timeline.
If the head of the snowman should fall off when the snowball hits it we need to make the head start falling from frame 48.
Move the timeline, the blue line, to frame 48.
Press I and select LocRotScale from the Insert keyframe menu.
This adds a keyframe at frame 48. If we want the head to fall of 0.5 seconds, 12 (24 / 2 )frames later,
Move the Timeline, that’s the blue line, to frame 60.
Select the Move tool.

Move the selected head, nose and hat to where you want it to be.
Select the Rotate tool.

Rotate the 3 objects. For example,
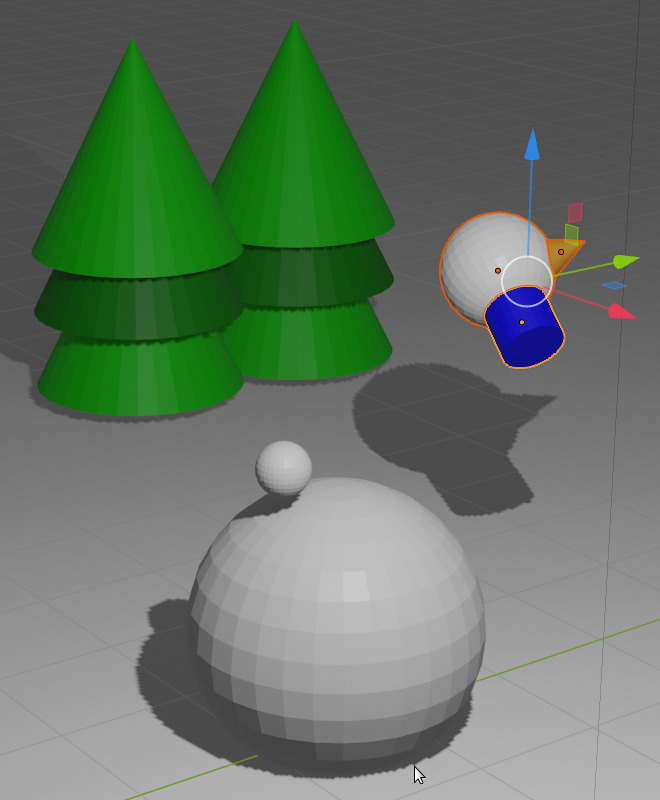
Then press I and select LocRotScale from the Insert keyframe menu.
Move the Timeline from frame 1 to frame 60 with the mouse. Does the head of the snowman fall off?
Speedup or slow down
If you want the head of the snowman to fall off much quicker then we need to speed it up. So we need to move the last keyframe.
Select the last keyframe, the yellow diamond, at frame 60 with your mouse.
Then press G for grab. By moving your mouse you can put the keyframe at another frame.
So if you want the head to come off faster you can move the keyframe closer to frame 48, for example frame 52.
If you want the head to come off slower you can select a higher frame, for example frame 80.
Delete
You can also delete a keyframe.
Select the keyframe.
Press X and then select Delete.