Render animation
Watch the video or,
Follow the step by step instructions below.
Length of the video
First we need to set the length of the video.
Play your animation. Check at which frame the animation ends.
Let’s say our animation ends at frame 63. So we need to tell Blender that the animation starts at frame 1 and ends at frame 63.
The start is already set to 1.
Change the end to 63.

The Timeline is now much shorter. Your animation is now also 63 frames, approximately 2,5 seconds.
Animation settings
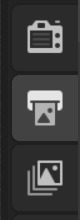
On the right you can find a printer tab. Here you can set the Output Properties.
Select the Output Properties tab.
Go to Output and click on the folder button. Select the location where you want to store the animation.

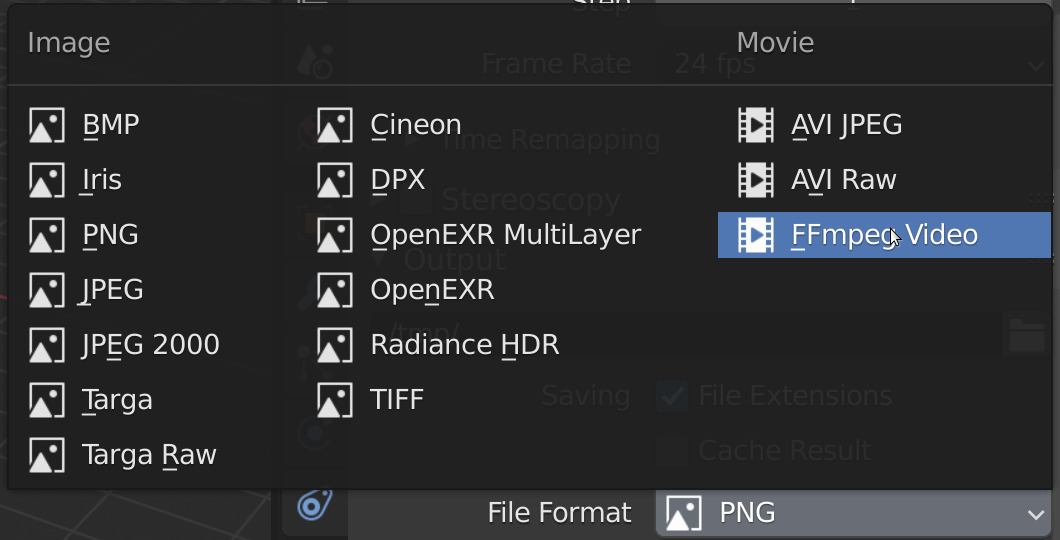
Change the file format from PNG to FFMPEG Video.
Render the animation
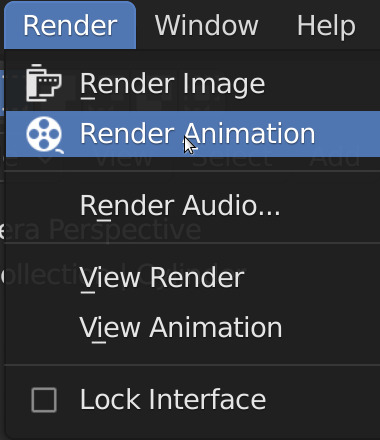
To render the animation select Render -> Animation from the menu at the top.
Your computer will start rendering the animation. At the top you can see how long each frame takes.
Once your video is rendered you can go to the location of the Output. Here you can find your video.