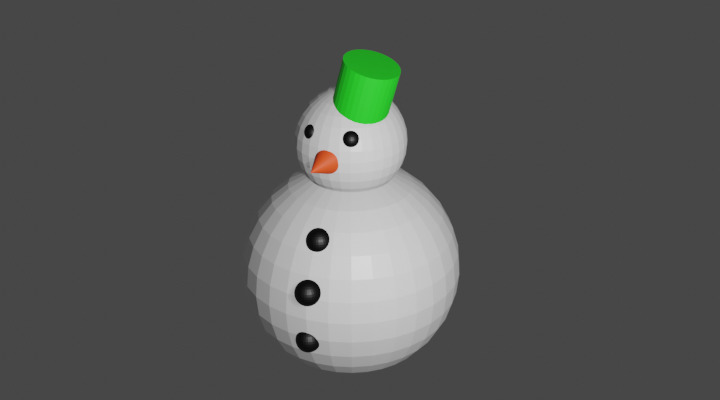
Coloring the Snowman
Watch the movie or,
Follow the step by step instructions below.
In this tutorial you will learn how to color your snowman. Start with a snowman with 1 eye. Also try the challenge at the bottom of this tutorial.
Viewport shading
Enable the Rendered mode in Viewport Shading in the upper-right corner.
Add a material to the hat
To give the hat a color we first need to add a material to the hat.
Select the hat.
Go to the Material tab on the right panel.

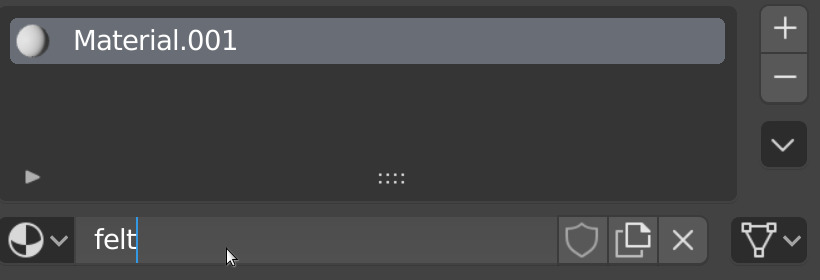
Add a new material by pressing New.

Give the material a name, for example felt.
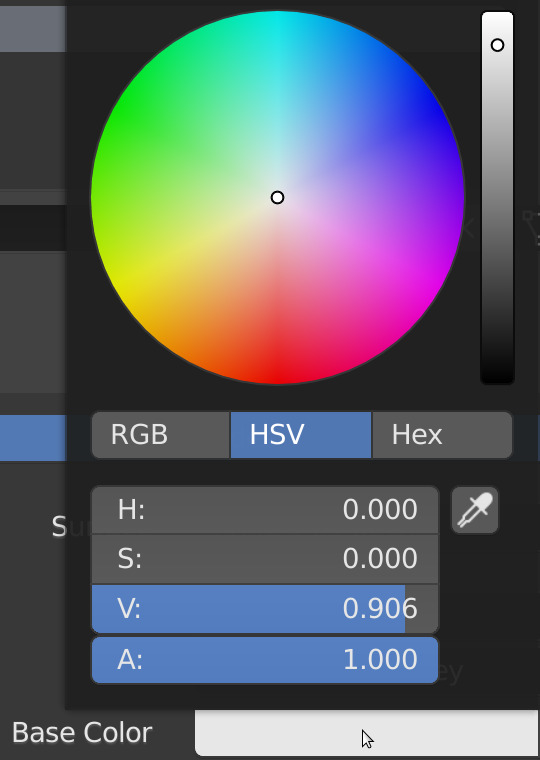
Click on the white-colored bar next to the Base Color.
Select a color from the circle, for example green.
Give the eye a color
Let’s give the eye of the snowman a color. We follow the same steps as with the hat.
Select the eye.
Go to the Material tab on the right panel.

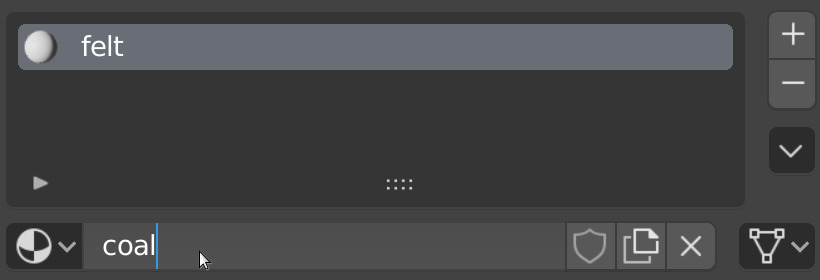
Add a new material by pressing New.

Give the material a name, for example coal.
Click on the white-colored bar next to Base Color.
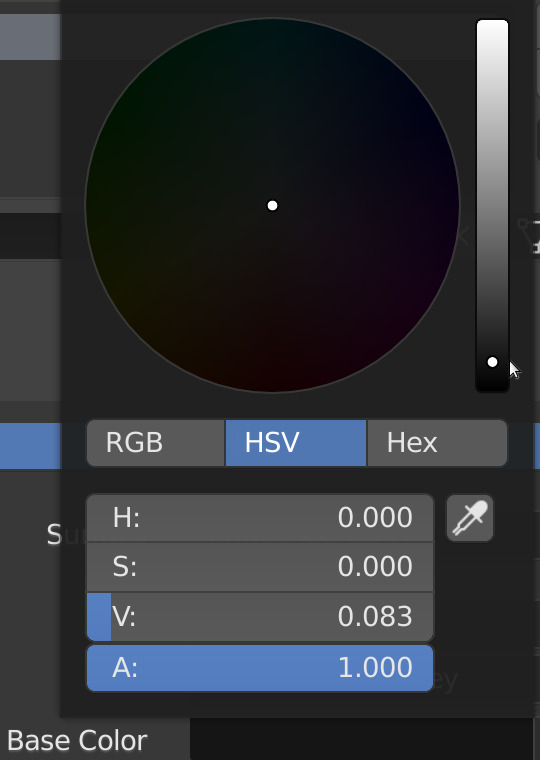
Select a color from the circle, for example black. To give the eye a black color, you drop the light intensity by scrolling the bar, right of the color circle, all the way to the bottom.
Create the other eye with duplication
To create the other eye we can add another UV Sphere, scale it, give it a color and move it to the head. But there is an easier way to do that.
Select the eye.
Press SHIFT+D for duplicate and move your mouse. You will see that you have another eye.
Move the eye using the mouse to where you want it.
Challenge
Add a scarf to your snowman. Give the scarf a color.

