Party Monkey
Watch the video or,
Follow the step by step instructions below.
The 3D scene
When you open Blender 2.8 you will notice that in the center you have a 3D scene. The 3D scene contains several things like
A camera
A light
A cube
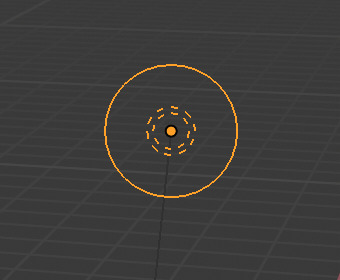
In the top right corner you have a widget.
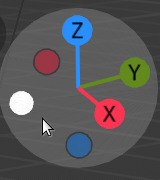
Using the left mouse you can click and drag to rotate the widget. The 3D scene will also rotate along.
Rotate the widget such that you are looking behind the camera. The camera is looking at the cube.

The light is at the top right of the cube. So the right side of the cube will be brighter. To simulate what the light does,
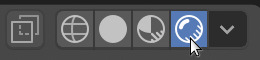
In the top right-hand corner, you see 4 circles. This Viewport Shading panel sets the way the objects are shown. Click the right-most one: Rendered.
Deleting objects
Let’s remove the cube.
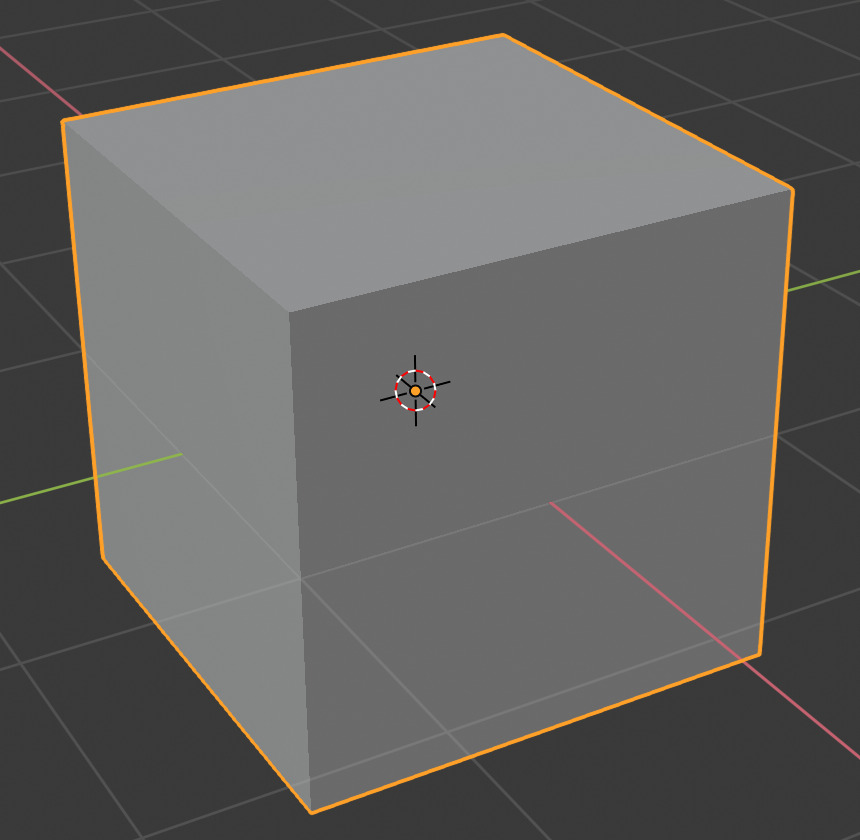
Select the cube. Notice the orange border surrounding the cube.
Press X and select Delete to remove the cube.
Adding objects
Let’s add a monkey. To add objects you can use the Add tab from the upper menu bar.

Go to Add -> Mesh -> Monkey to add a monkey to the 3D scene.
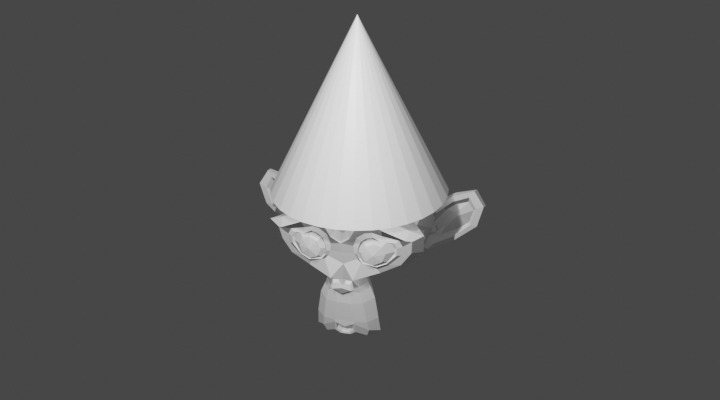
To add a hat
Go to Add -> Mesh -> Cone.
Moving objects
To put the hat on top of the monkey we need to move the cone onto the top of the monkey. To move the cone,
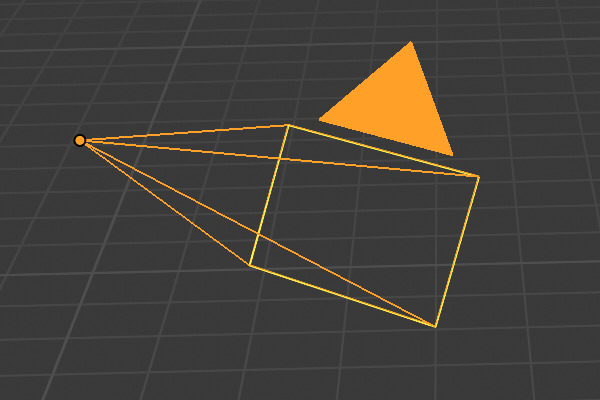
Select the cone.
Then select the Move tool on the left.

You will notice that there are arrows at the cone. Using these arrows you can move the cone in several directions,
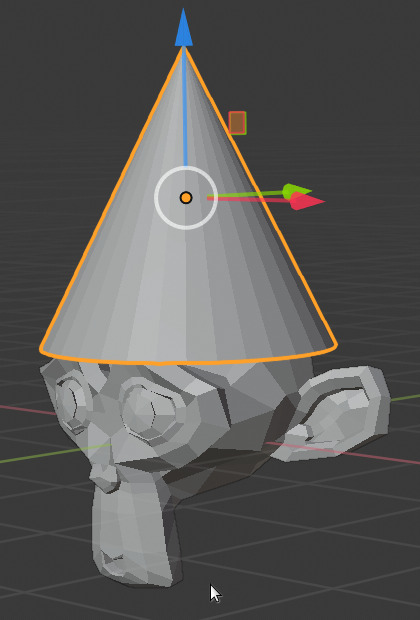
The red arrow allows you to move along the X-axis. The blue arrow allows you to move along the Z-axis. The green arrow allows you to move along the Y-axis.
Move the cone on top of the monkey. Make sure the hat fits in all 3 directions, (X - Y and Z). With the widget mentioned earlier you can rotate around the monkey.
Moving the light
You might have noticed that you can´t really see the monkey´s face. So we need to move the light to the front of the monkey,
Select the light.
Move the light using the arrows to the front of the monkey.
Can you see the face of the monkey?